Easter Egg Lavender Sachets – An alternate Easter gift

With Easter fast approaching, Burlap comes into it’s own. Burlap is the king of Easter. What could be a better fabric to celebrate Spring, Nature and New Life than Burlap. Not to mention the meaning of Lent and going without, the humble Burlap fabric is the perfect companion.

Easter Egg Burlap Lavender Sachets

Burlap Lavender Sachets are the perfect gift when you don’t want to give chocolate for Easter. These sweet little sachets can be hung in the wardrobe to keep your clothes smelling fresh and bug free all year round – and best of all not a calorie to be seen!

To create your lavender sachets cut two Egg shaped ovals (mines about 12cm high) of Burlap.

Two Egg Ovals

On one of the ovals of Burlap stitch rows of ribbon in complimentary shades and patterns.

Place Burlap Eggs right side together and insert a 15cm length of satin ribbon, folded in half, inside the top of the egg to form the hanger. Pin in place. Stitch around the circumference of the egg leaving a 5cm gap on the side.

Stitch around the circumference leaving an opening

Roll an A4 sheet of paper into a funnel and insert in gap in Burlap, fill egg with Lavender. Stitch opening closed.

Fill with Lavender

Fray the edges back to the stitching line. Your Lavender Easter Egg Sachets are now complete.

So quick, so affordable and so easy! The perfect Easter gift.

New Pattern Release – Luggage Tags, School Book Covers and Keepsake Keyrings

Burlap is definitely my favourite fabric to craft and sew with. It provides so many challenges and is such a versatile fabric. I do however, on occasion, sew with regular fabrics as well. You may not be aware, but I design a range of simple to follow, fun sewing patterns for beginner sewers.

All my patterns are available in my pattern store (accessible from the Pattern Store tab above). And I am proud to let you know I have just uploaded three new patterns to the store.

The first is Lovely Luggage Tags. These are made from Oilcloth and are a perfect way to accessorise even the dullest luggage.

The second is School Book Covers. These are a godsend. I made them for my son last year, and this year back to school was a breeze! All I did was peel off the name tags and then stick on new ones. Job done!

The third is Keepsake Keyring Pattern. This is a really sweet gift to make for grandparents and parents. Keyrings sporting a photo of your favourite little cherubs!

The great thing about the pattern store is that all the patterns are instantly downloadable once payment is confirmed. So if your looking for a new project, or that perfect gift, visit the Burlap Bag Lady pattern store to find some inspiration!

Last minute St Patricks Day gift for the boys from a Leprechaun!

This is a great last minute St Patrick’s Day gift that is quick and easy to make.

My boys are now 7 and 5 and I thought this year it would be nice for them to celebrate a bit of their heritage with St Patrick’s Day. They are also old enough to start to understand where they come from and the concept of generations past. So I thought why not surprise them this year with a gift from a Leprechaun to get into the St Pats spirit!

I plan on leaving this Pot of Gold on the front steps St Patrick’s Day morning.

It’s super easy. I just cut a length of Burlap long enough to go around a mason jar. I use foam stamps from the dollar store and green acrylic paint to stamp ‘Pot of Gold’ on the burlap. Once dry I used a hot glue gun to stick the ends of the burlap together at the back of the jar.

Then I filled the jar with gold coin chocolates.

For the top I made a Leprechaun Hat from black felt. I cut a circle the same size as the lid of the mason jar. Then I cut a rectangle of felt 10cm x 4cm and rolled it into a tube and hot glued it together. I then glued this tube to a square of felt just larger than the tube and then the other end of the tube onto the large circle. Once dry I trimmed the square to the circumference of the tube.

Then I choose a small gold button I had (appropriately with a clover leaf – unfortunately not four leaf though!) and glued it onto the felt hat. I then glued the hat onto the top of the mason jar.

I think the boys will be thrilled with their gift from the Leprechaun on Sunday! It’s not too late to make one of these for your kids or neighbours.

Prevent Burlap from Shedding – a Case Study

Here are some tips on how to prevent Burlap from shedding and the print from fading when sewing and crafting with Burlap Sacks.

One of the questions I most frequently get asked is how to wash Burlap and prevent shedding and fading of the print. So I thought I would do a little case study to explain the process.

Firstly, I never wash my Burlap sacks prior to sewing with them. Often they have been cut open and the loose threads will shed and go everywhere. If you are a clean freak, and just can’t possibly stand the thought of ‘dirty Burlap sacks’ in your craft room, then I recommend hand washing only. Put some detergent and warm water in a tub and then dunk each sack into the water. Swish it around and then rinse it under a tap to remove the detergent, and hang it on the line. If you wring it out, be prepared to iron, iron, iron to get it flat again. The great thing about Burlap is the loose weave so even if you don’t wring it out and just hang it on the line it should still dry in a couple of hours.

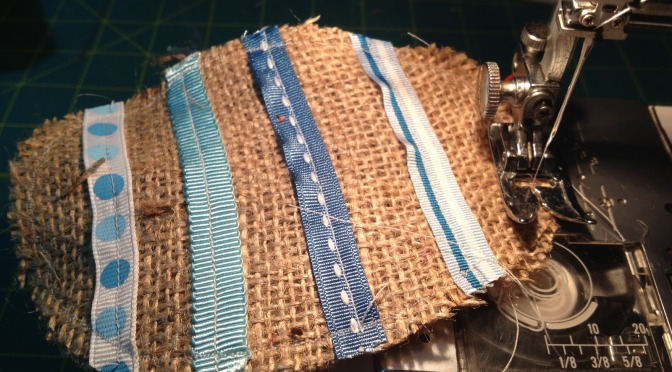
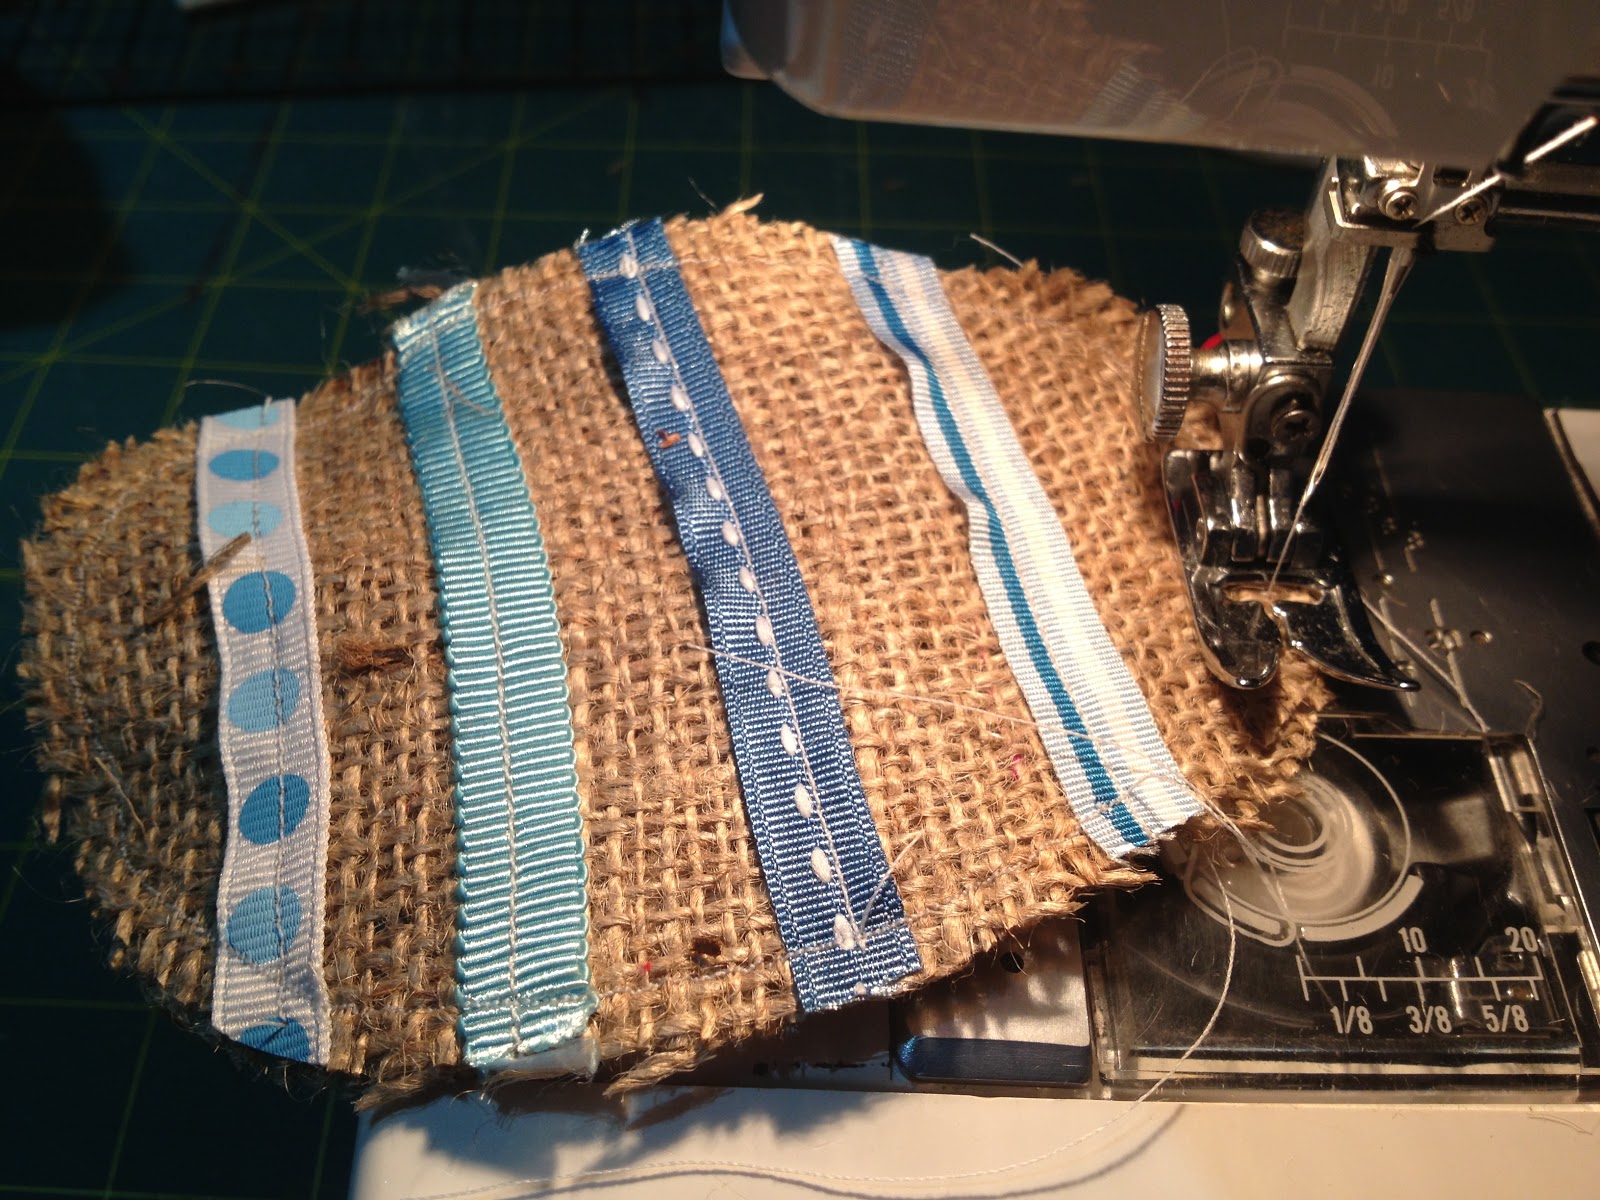
That said, let’s now assume you take my advice and don’t wash prior to sewing. Move straight on to making up your item and ensuring you secure all loose edges.

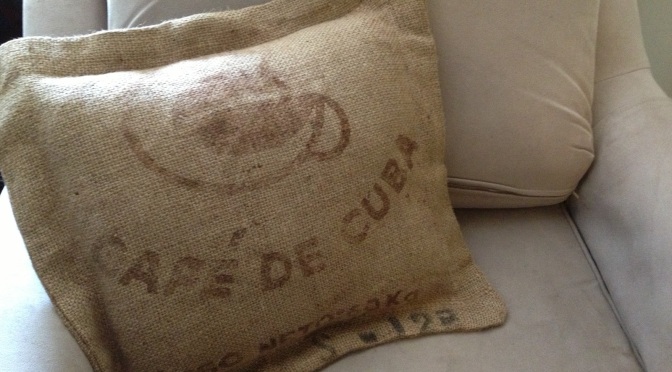
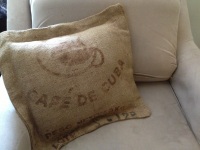
So I have taken the example of this cushion cover I made from a Burlap Sack. I sewed it up and then went ahead and washed it.

Before washing

Next step was to heat set the ink. The branding on the sacks is not designed to be permanent, and that is the roulette of sewing with Burlap. Some inks will bind really well to the Burlap and will be there forever, others will wash out. You need to accept this.

However, to give you ink the best chance of surviving the washing process, it is nest to heat set teh ink first. To this I covered the printed area with a sheet of baking paper and then using a hot iron, iron over the top of the baking paper for about 10 seconds on each spot.

Once you have heat set the inks, place the item into an old pillow case and secure the top with a rubber band. Put it in the washing machine on a cold cycle with detergent (no bleach).

When the wash is complete undo the rubber band and pull out your Burlap item. All it to dry flat and then iron it again to get it flat.

I found that my pillow case actual had no shedding. This is because all the raw edges were secured prior to washing. As you can see there are no loose fibres inside the pillow slip when I removed the Burlap.

The inside of the pillow case once I removed mu cushion cover

The ink did fade a bit, but I think that just adds to the worn vintage feel, see the before and after photos below (a bit more iron ing required for the after photo!).

Before
After

So I hope this has helped ‘shed’ (excuse the pun) some more light on the process of washing Burlap!

I would love to hear any tips or experiences you have had washing Burlap.

St Patricks Day Burlap Shamrock Bunting

Inspired by last weeks post, where I featured a paper shamrock bunting for St Patricks Day from Lolly Jane blog, I thought I would create a Burlap version.

Armed with Burlap, Potatoes, Paint and a Knife I set to work.

First I cut 14 rectangles of Burlap 15cm x 20cm. To do this quickly I folded the Burlap over 15cm wide four times, then using a rotary cuter, I cut off the folded edges then cut the long strips into 20cm lengths.

Then I folded over one 15cm edge 1cm then over again another 2 cm to create the sleeve to thread the hanging string through. I stitched this in place using a wide zigzag stitch.

I then also stitched around the whole perimeter of each rectangle about 1cm from the edge to prevent unwanted fraying.

Time for potato printing! Believe me, this was not as easy as I remembered from kindergarten! After several attempts at a shamrock carving, I gave up in frustration. My husband tried to diffuse my frustration by carving me a heart, little did he know that his peace offering was actually exactly what I needed. I used the heart stamp four times to make a shamrock. Take it from me carving one heart shape in the potato is far easy than one whole shamrock – but it’s your choice which way you go. I just used a green acrylic paint as I don’t plan on ever washing the Bunting.

Once the paint was dry I then removed threads outside this 1cm edge stitch to create the frayed edges.
 
It was a perfect excuse to use my new linen string. I was given the most beautiful linen string on a spinning dispenser this Christmas, and this was the perfect project to christen it! If you don’t have linen string, don’t worry you can just use normal jute string instead. 

I used a really big needle with a wide eye (hole that you put the thread through) to thread the string through easy rectangle.

And that’s it – a really cost effective and simple to make St Patricks Day Bunting.

How are you decorating at your house for St Patricks Day – please share with us.

Burlap Wrapped Mason Jars great gift for Valentines, Mothers Day, Easter

These Burlap wrapped and stencilled mason jars were originally created for Valentines Day, but would be easy to adapt and use for Mothers Day, Easter or any other event.

Janis from Rust blog posted a great tutorial on how to create these gorgeous jars for Valentines Day. But I think they are too cute to save for Valentines and should be given more frequently throughout the year, so use your imagination and add and image or saying you like to create a special gift year round.

To get the low down on the ‘how to’ visit Janis’ blog Rust for the full tutorial, it’s super simple and makes for a fabulous last minute gift idea. Thankyou Janis for sharing such and adorable idea with us all!