Tag Archives: Christmas

Secret Santa Gifts that Kids Can Make themselves

My son’s Year 2 teacher this year decided the class would do a Secret Santa, but with a twist. The kids had to make their gifts. There was to be a boys gift and a girls gift. Boys make for boys, girls make for girls and then it would be lucky dip on the last day of school.The lucky dip bit threw me a bit – it was hard to know what to make when you didn’t know who would be getting it. So I figured the way to a man’s heart is through his stomach so let’s bake something.

It was also a project I knew my son could be involved in. So we baked some simple vanilla cookies and before baking studded them with red and green M&M’s. We then baked them, and once cooled pack them in a plastic bag tied with ribbon. It was an easy and effective gift that the recipient loved! We also packed up the leftover ones and gave them out to all the boys’ cousins.

Next I’ll show you some simple Teacher’s Gifts.

Easy Christmas Gifts that kids can make for their friends

Every year my kids love to write Christmas Cards to all the friends in their class. Most kids also include a candy cane or chocolate santa in with their cards. This year with two boys at school we need 52 gifts to make sure every child in each class got one.

So I decided to do something a bit different. My son had learnt at school how to make his own sherbet. So we set about making green and red sherbet. If you need a sherbet recipe click here.

We then packaged the sherbet into tiny clip seal plastic bags and included a green or red lollipop for dipping! We tied the whole lot together in a plastic bag with ribbon and attached a mailing label to each one.

On the mailing labels we decorated one side with washi tape and the other side I print out little messages to stick on each one. The message read:


Here’s some Yummy Elf Dust,
To spread the Christmas Cheer,
And say thank you for being my friend,
Throughout our first Prep year.
(or other variation “throughout our Year 2 year”)


Love from Charlie.

This was a really simple gift, but was much more personal than store bought cards and candy canes.

Next time I’ll show you an easy Secret Santa gift.

Let the Gift Giving Begin!

December is usually my busiest craft month. I try and give as many Handmade Gifts as possible. So this month I thought I would just share with you my Christmas Gift Crafts as I won’t be doing much blog specific crafting.Most of them won’t be Burlap. However, I hope they inspire you just as much as my Burlap gifts and give you some ideas to create your own Handmade Gifts.

Luckily my Husband never reads my Blog – so let’s start with him.

Recently we went to Hamilton Island in Queensland for a holiday. Whilst we were there I was able to do a painting class. It was so lovely to spend 2 hours re-visiting a medium I haven’t used in years. Inspired by the class and the beautiful Hamilton Island scenery, I came home and created this painting for my Husband.

He loves sailing and Hamilton Island is famous for it’s race week. So I downloaded some photos of the Hamilton Island Race week for inspiration and crated this acrylic on canvas. Once dried I then applied a resin glaze to give it some extra shine and make it really pop. I framed it in a frame from IKEA.

One down, about 20 more to go!

Entries for the Royal Show

Tis that time of year again in Brisbane when the Ekka comes to town. The Ekka is the Agricultural Show when ‘country comes to the city’. It’s also the most competitive show in the State for Crafters. This year I’ve opted to enter three categories:

  • Funky Fabrics and Wearable Art
  • Christmas Decorations
  • Childrens Toy
And for once, I’m actually somewhat organised.
So I thought I would share with you what I am making. The first is the Christmas decorations. Given many people celebrate ‘Christmas in July’ now is a good time to share with you my Burlap Christmas Trees.
Here’s the final product:
If I were displaying them around the home, I would probably sit them on top of wine or champagne glasses at varying heights, but for now, they are just sitting on the table.
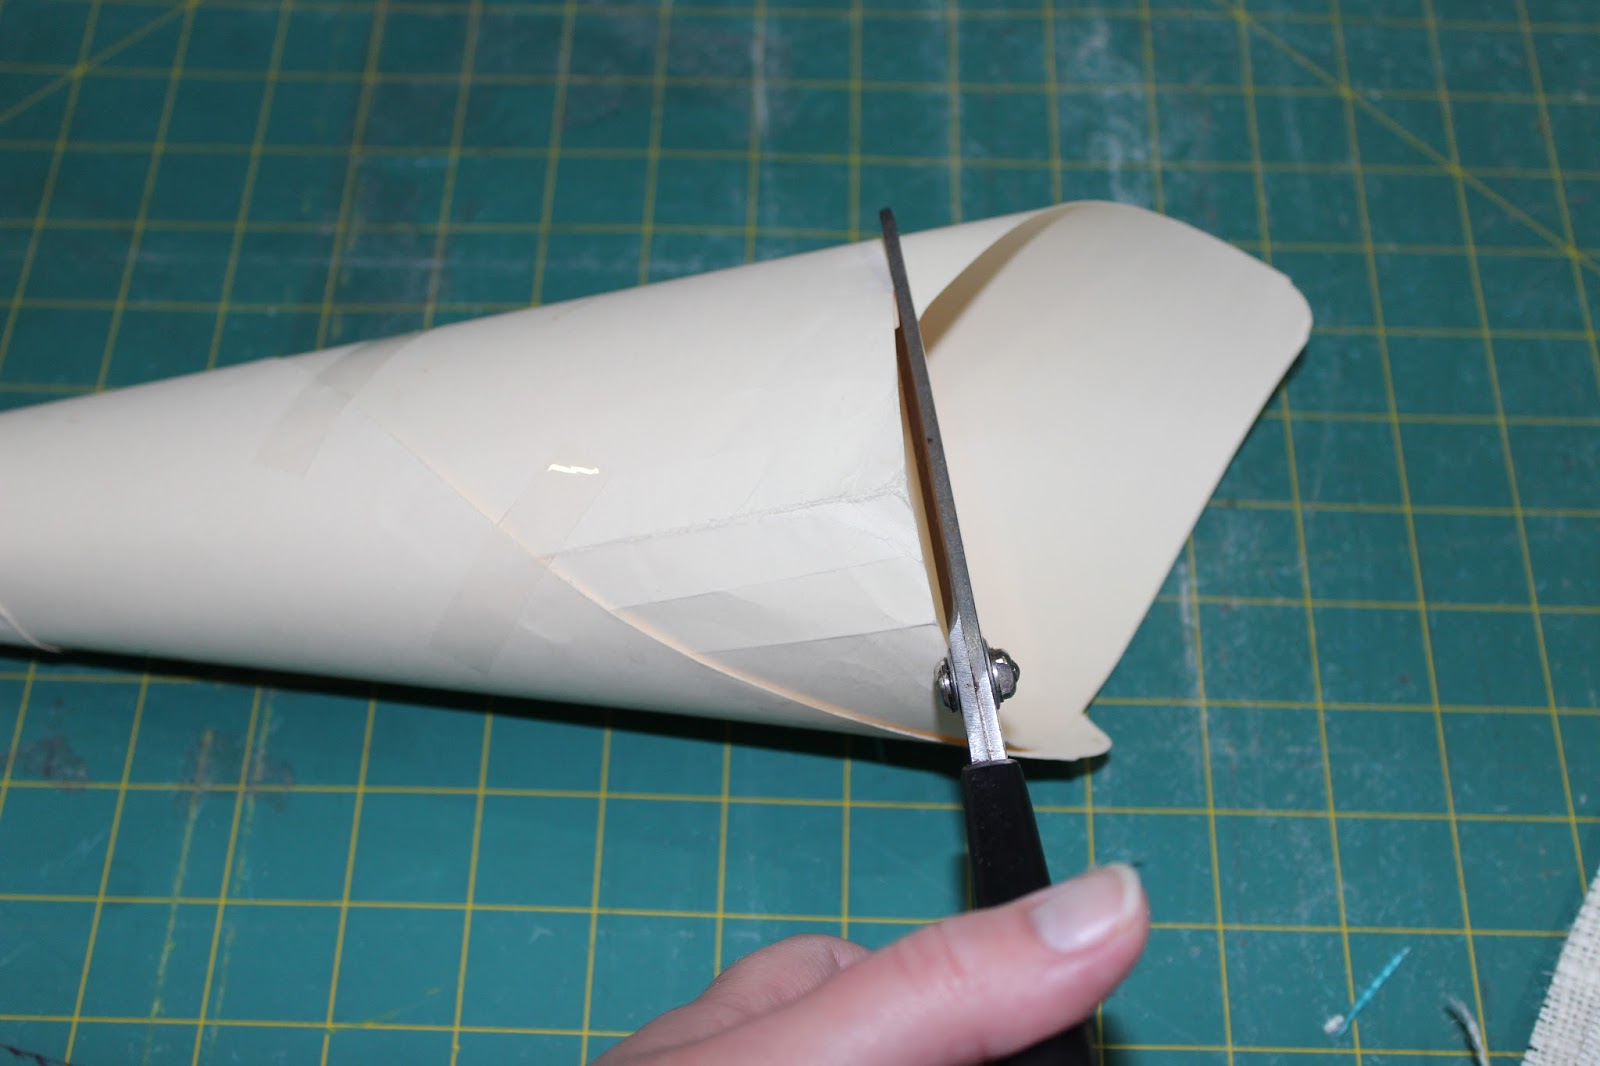
To make, they are really simple. Take a large sheet of cardboard (I used old manilla folders) and roll them around using one corner as the point to form a cone shape.
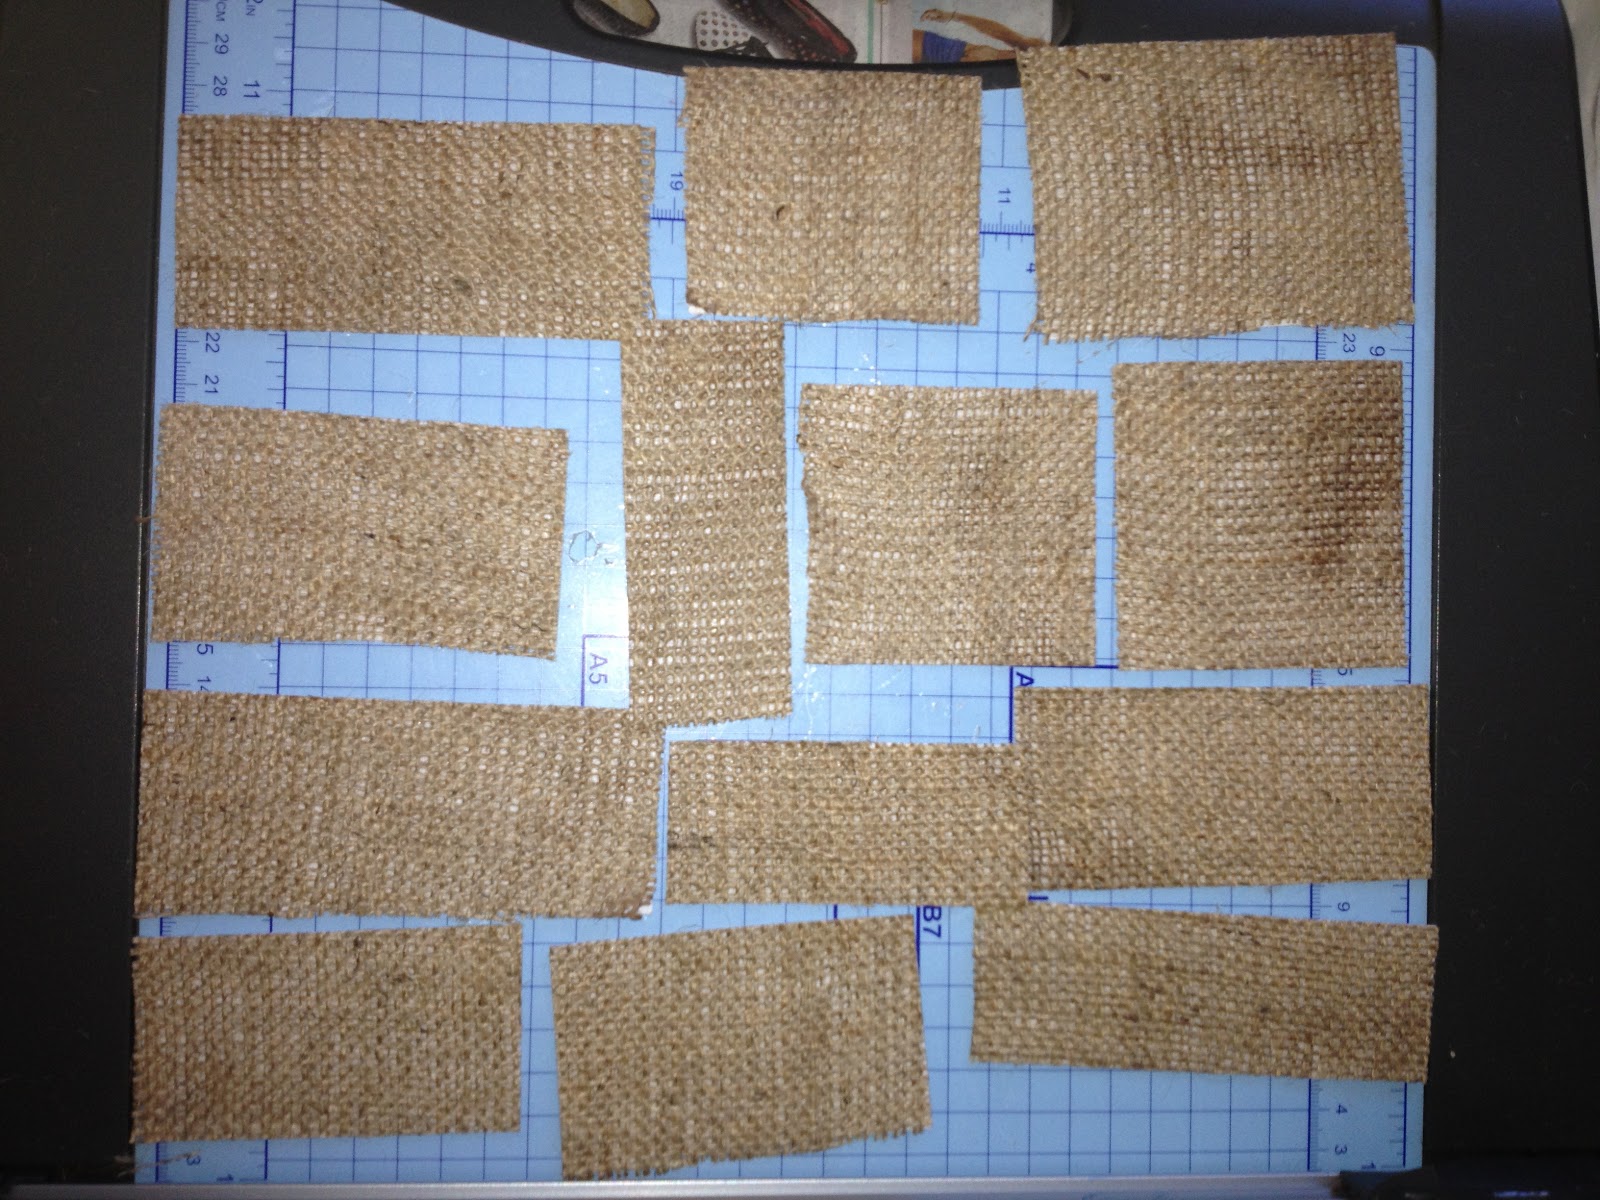
Sticky tape the cone shape to hold in place, and trim the bottom with scissors so it is level.
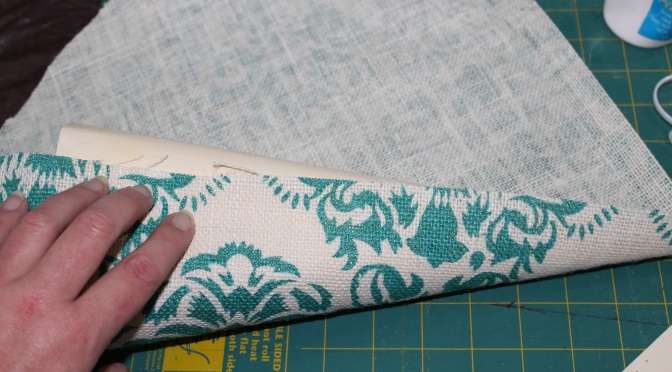
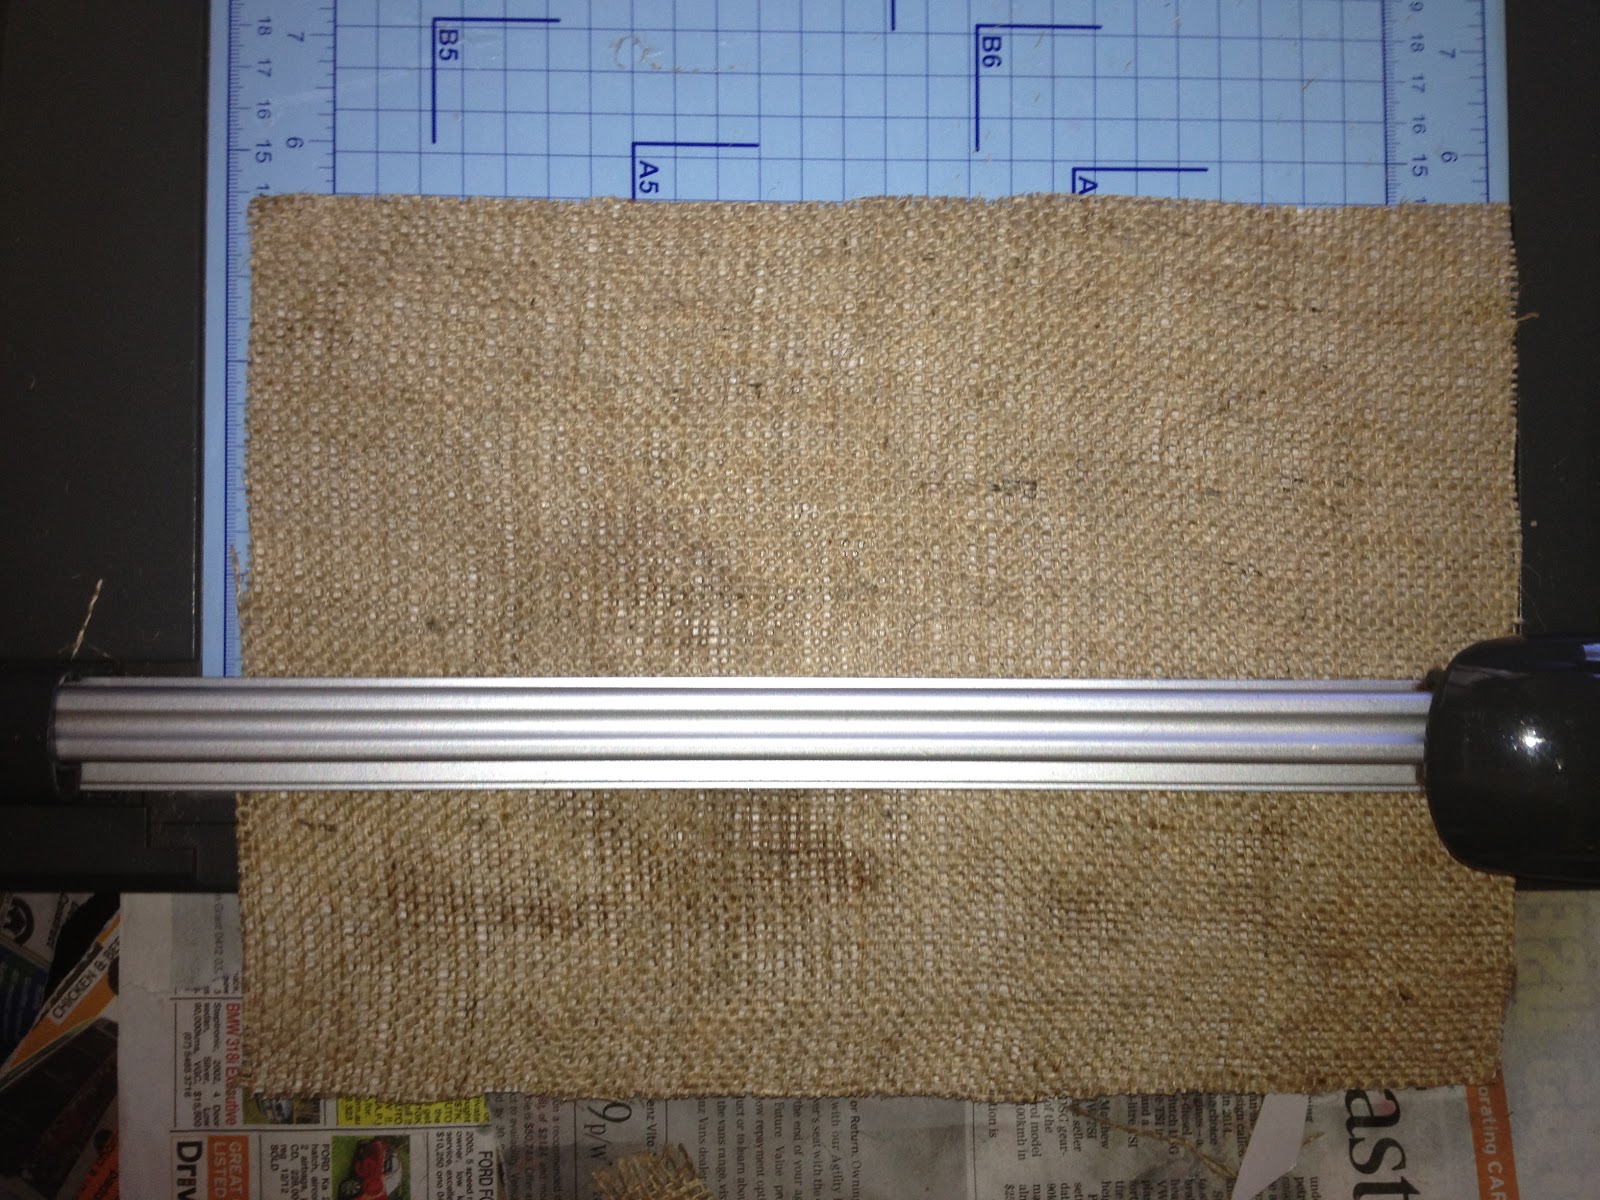
Paint the cone with PVA glue. Lay on a corner of Burlap and roll to cover. Overlap the end about 1 cm then trim the burlap. You will need to apply more PVA to the Burlap where it overlaps so it sticks together.
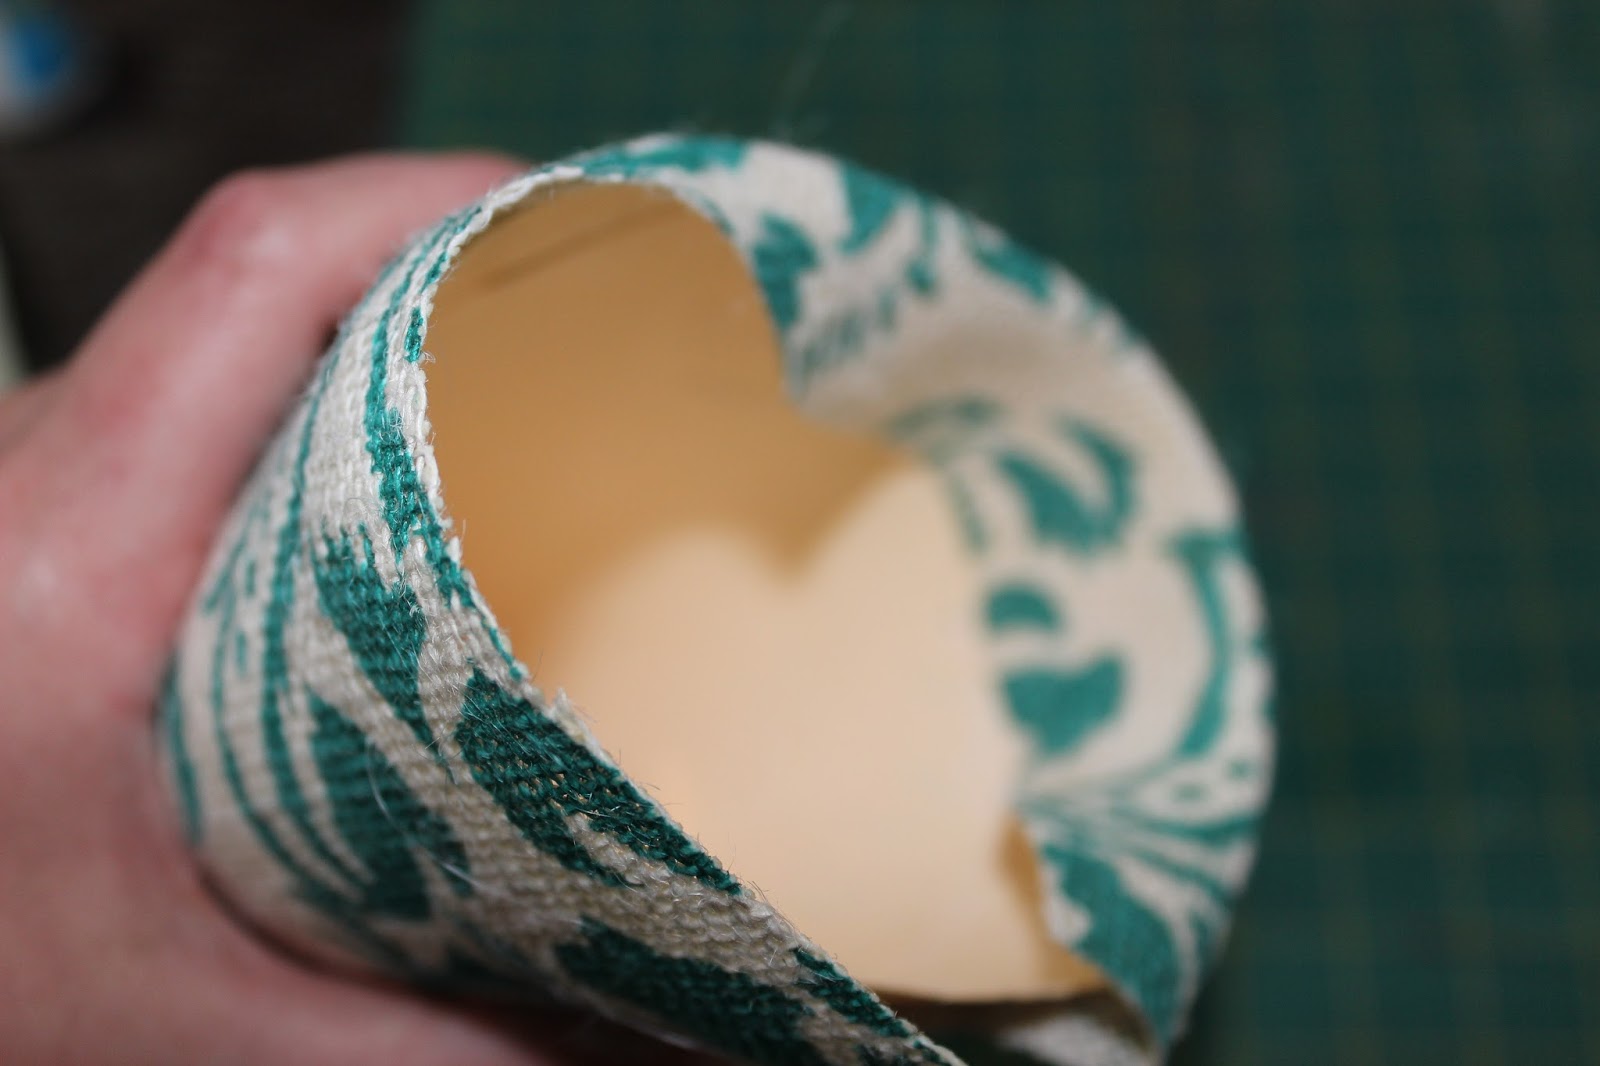
Trim the Burlap at the top and then the bottom leaving a 2cm edge at the bottom. Then apply more PVA glue around the inside bottom edge and fold in the Burlap and glue down.
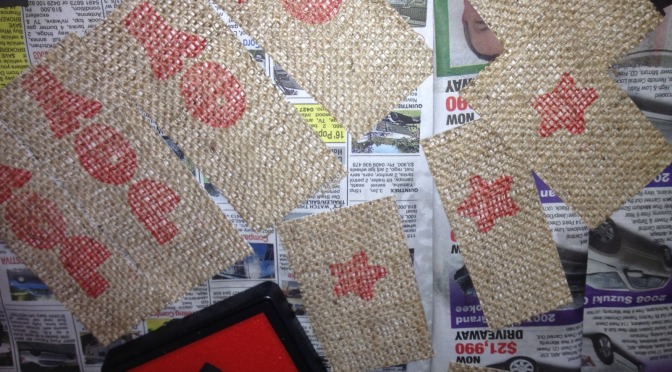
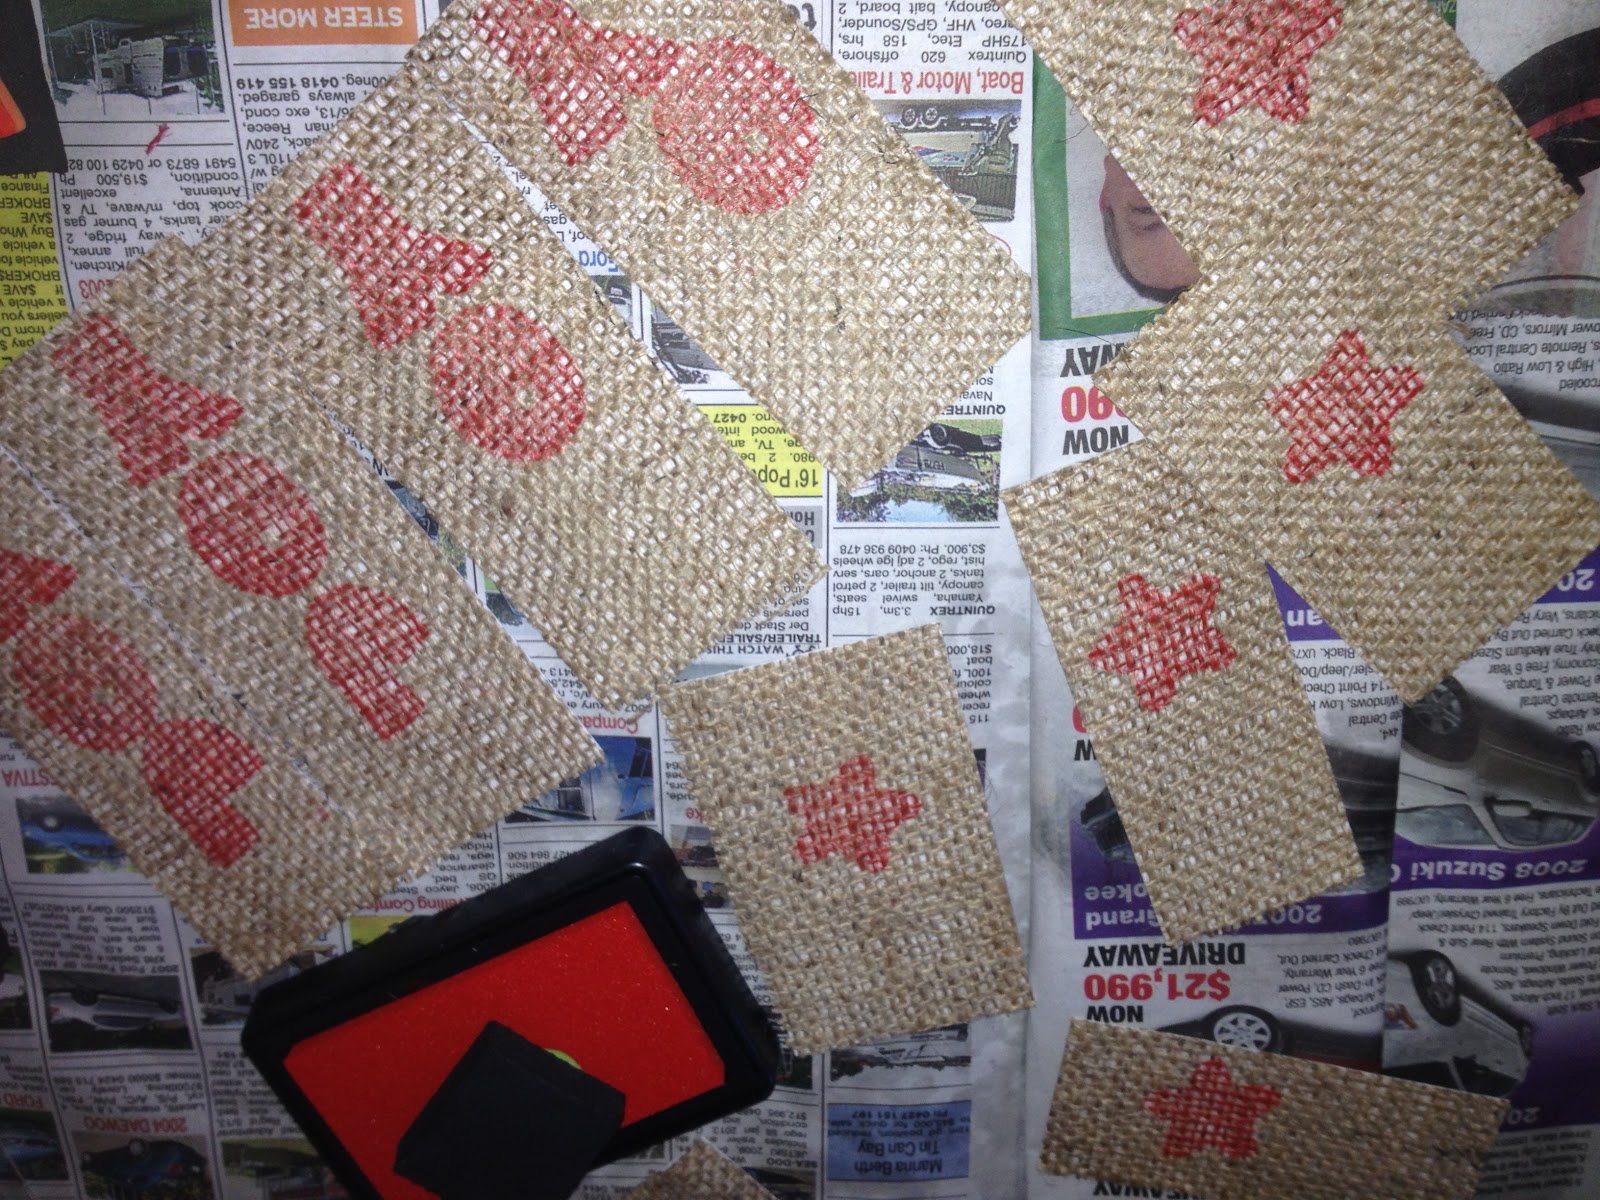
Once dry, you can then embellish with ribbons, sequins and beads using a hot glue gun to apply them.
As Burlap comes in so many great colours, you can make trees to suit any colour scheme. And the best part is how affordable they are. So if your celebrating Christmas in July, get busy with these Burlap Trees for your centrepiece, or you may like to get an early start on some fresh decorations for this Christmas.
Next week I’ll show you my funky fashion, wearable art entry.

Burlap Christmas Gift Tags

Things have been a little slow on the blogging front lately as all my attention has been turned to my new studio. Hopefully, all fingers crossed, it will be ready for Christmas and be the best Christmas present ever!
So my Burlap adventures have been curbed somewhat, however I couldn’t resist a little burlap for Christmas.
This year I decided to go with brown paper packaging tied up with string (these are a few of my favourite things!). So for the gift tags I made some simple Burlap tags.
Here’s the how to:
Cover a piece of A4 cardboard with spray adhesive and lay your burlap over the top. I then placed a piece of baking paper over the top and weighted the burlap down to make sure it sticks. I used a box of champagne bottles – after all it is Christmas time!


Once stuck down (about 15 minutes) I then trimmed the Burlap from the edges of the card and put the card into the guillotine and cut various random squares and rectangle. You could make them all even if you wanted to measure, but I think random adds to the charm.

I then took a stamp pad and red ink and stamped some stars and the word Joy on the burlap side of the tags. I also cut some stars from red burlap and using the spray adhesive, sprayed the stars and stuck on the tags. The stars also need to be weighted down.
Finally hole punch each tag and tie onto your presents.
Simple and beautiful.

Cutest Burlap Christmas Sacks Ever!!

OMG! I am in love! Just found these on the harrow and green website. The cutest ever personalised Burlap Christmas Sacks.

They come in four different designs and can be personalised with your childs name on them. I just love them and must have one for each of my boys!

Still some convincing needed for my husband to purchase them though – maybe my three will have a Burlap Bag Lady version instead! Stay tuned…